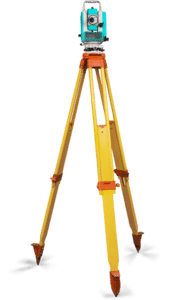
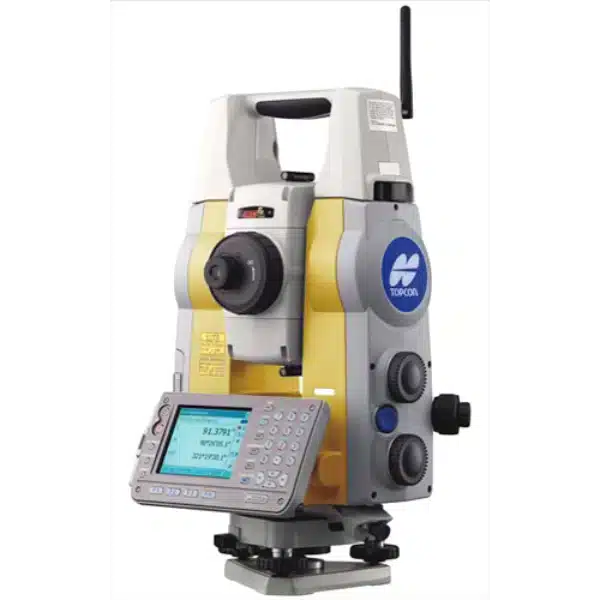
The new MS series of precision, motorized, reflectorless total stations are designed for extremely high precision work in construction, infrastructure, surveying and more.
Two different models are available – the MS1A for high accuracy and long distance measurement, while the MS05A is for high accuracy survey and construction work. Their features and capabilities are suited for precision measurements and problem solving in rail infrastructure, bridge monitoring applications, underground network control, dynamic hydrographic applications and precision steel structures.
Industry leading accuracy
Through the combination of high-performance absolute encoding and the newly announced IACS (Angle Independent Calibration Systems), both instruments can offer the level of high angular accuracy and precision needed and demanded in an increasing number of application areas. The MS1A can measure up to 1″ from Arc (0.3 mgon) and the MS05A goes even further with the ability to take angular measurements up to 0.5″ from Arc (0.15 mgon).
Additionally, both instruments can measure distances with high accuracy, 1mm + 1ppm for marker lengths (up to 300 m) and prisms (up to 3.5 km), and the MS1A can also measure in reflectorless mode up to 200 m with an accuracy of 3mm + 1ppm.
For measuring distances with the highest possible accuracy, the MS05A offers the incredible capability of sub-millimeter measurement with 0.5mm + 1ppm with a measurement mark of up to 200 m, and with a standard prism can measure up to 3,500 m with an accuracy of 0.8mm + 1ppm.
The measurement time has also been reduced, in fine and fast mode, the measurement is ready in 2.5 sec, which is an important requirement when working in dynamic construction applications.
Automatic routing and tracing
The MS total station series includes a significantly improved auto-vision system using superior algorithms to improve performance. Unlike traditional systems that aim at the nearest target (located in the telescope’s field of view), the MS series operates with a stronger signal, allowing the instrument to detect a target that is closer to the center of the filament cross. This applies to standard prisms (up to 1,000 m) as well as measuring marks. This means that an automated system can use the instrument reliably and be sure that the prism it is pointing at and measuring is the correct one.
In addition, both models have enhanced auto-trace capabilities and can quickly and reliably trace a standard prism up to 1,000 m (MS05A). With high rotation speed (90 km/h per 100 m) and super fast distance measurement, fast automatic topography and fast tracing – machine control is effortless.
Embedded software
The MS series includes the following useful programs:
– Free station
– Notches
– Geodetic photos
– Tracing
– Height to inaccessible point
– Indirect distance measurement
– Calculation of areas
– Scanning function
– Convenient and programmable status bar
That’s all you need to work quickly and intuitively.


